For us to be able to run our Minecraft server, we will need to have an operating system installed. I have decided to use Ubuntu server, so it is probably about time that we get round to installing it. If you haven’t already downloaded it, go get it now. I will be installing this on my Hyper-V virtual machine that I have set up, but you can run it just fine on any other virtualization platform, or even just a physical computer. I will assume that you have started your machine and booted off the install disk; how you do this normally will depend on what option you have decided to go with.
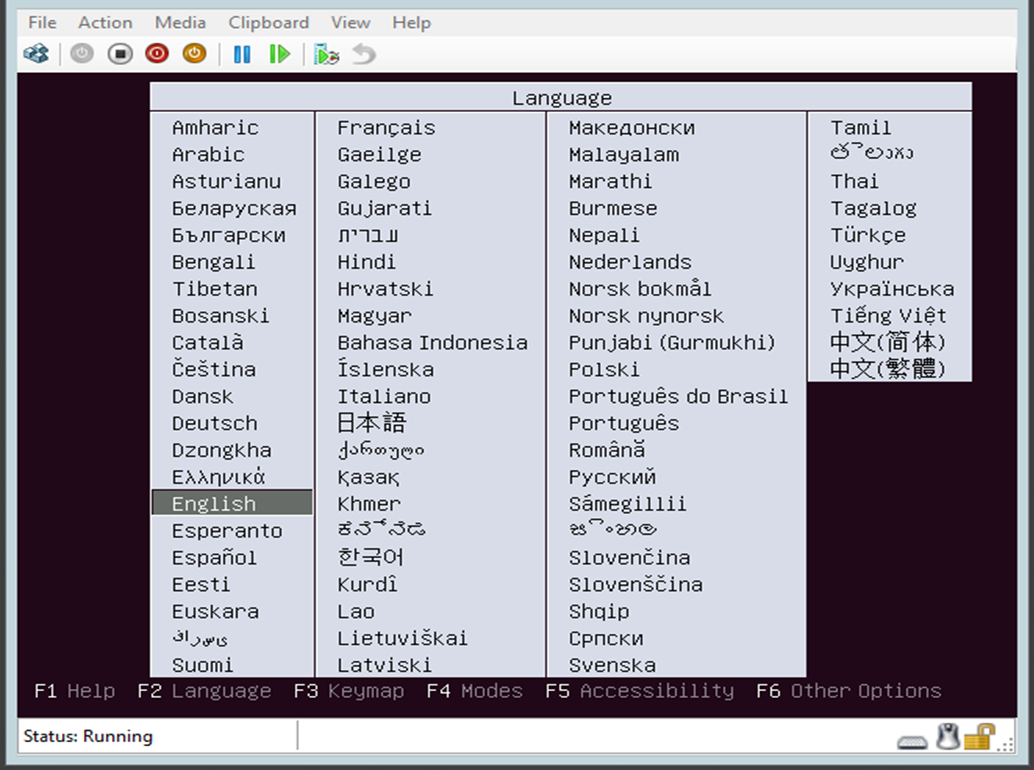
The first thing that you will see once the Ubuntu install disk has loaded is an option to choose which language to run the installer in. I’m going to use English, as my knowledge of other languages is severely lacking. Use the arrow keys to make your selection, then press Enter.
From the list of options that you are given, select to “Install Ubuntu Server” (default option) and press Enter.

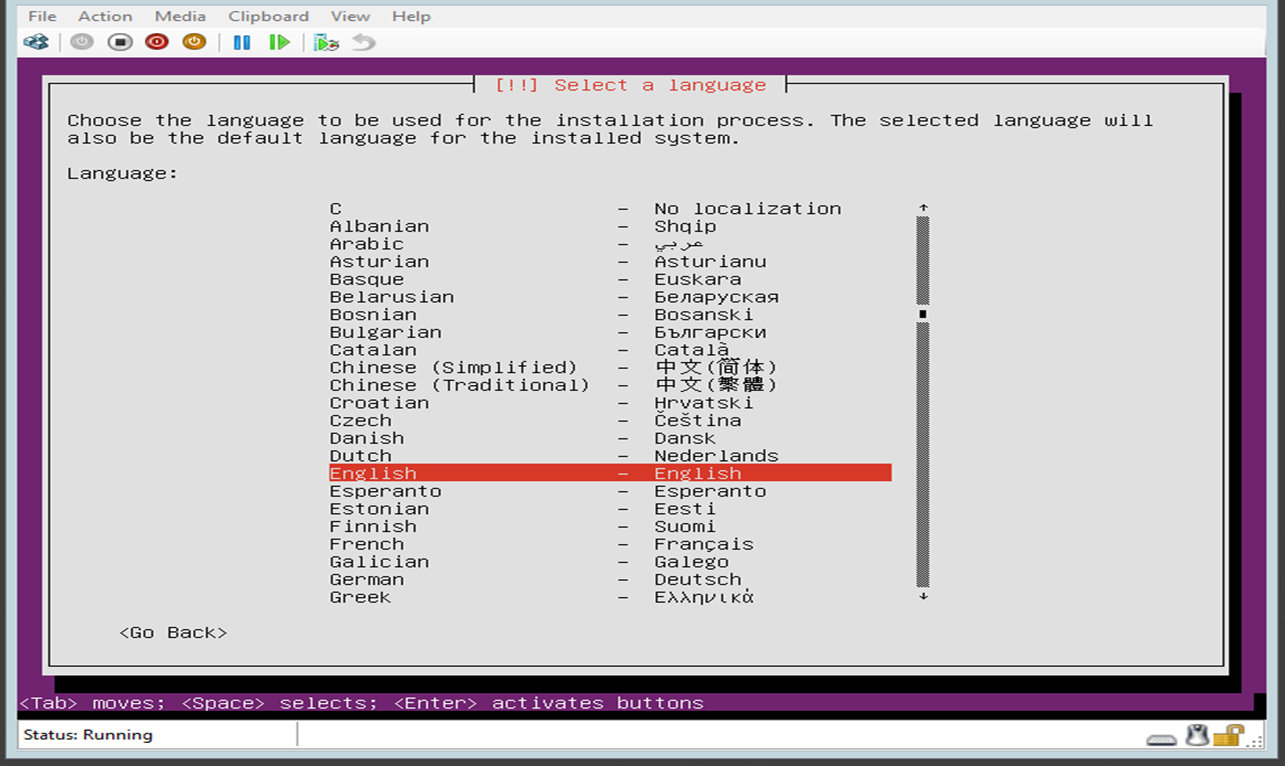
Wait for the disk to load the installer. This will take a minute or two, and you may see text flying past the screen. There may also be some error notices where is can’t find certain pieces of hardware, but unless the installer fails to boot, don’t worry about it. Eventually, you will be presented with a screen to choose the language you want to install for the system. Again, choose the same language that you chose before (use the arrow keys if needed) and then press Enter.
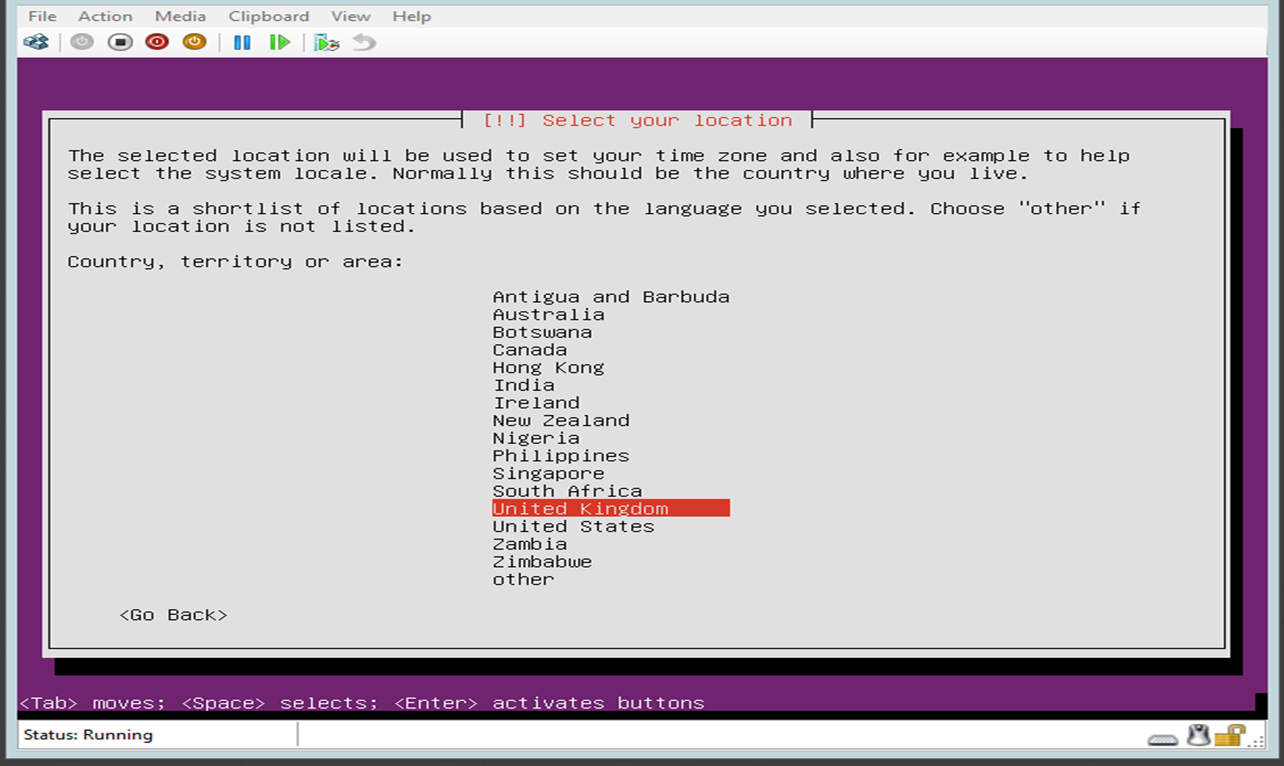
Now it is time to set your country that you server is located in. This information is used to generate the locales for the system, as well as setting the correct timezone. Use the up and down arrows on your keyboard, then press Enter when you have selected your country.
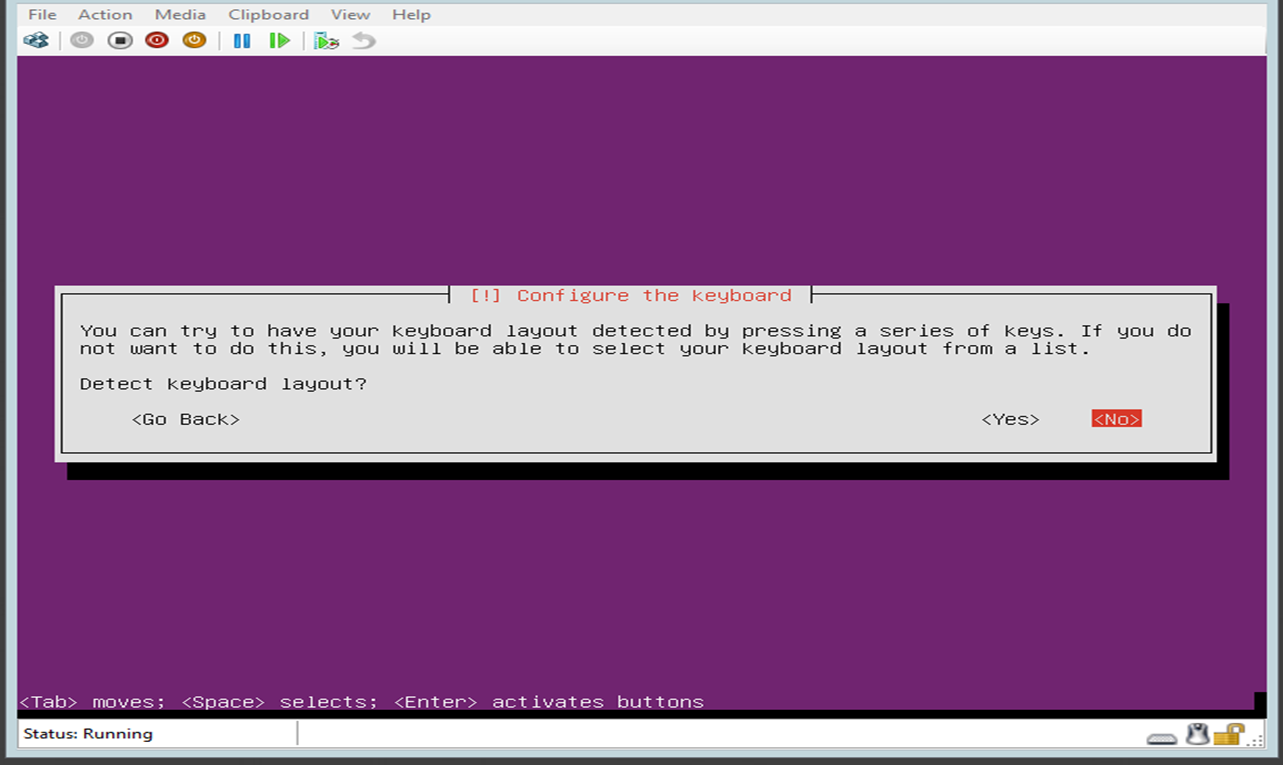
You will be prompted to choose the keyboard that you want to use by typing a few letters and letting the system best guess what physical keyboard you have. While this is fun to do, it’s quicker to make sure that No is selected and then press Enter.
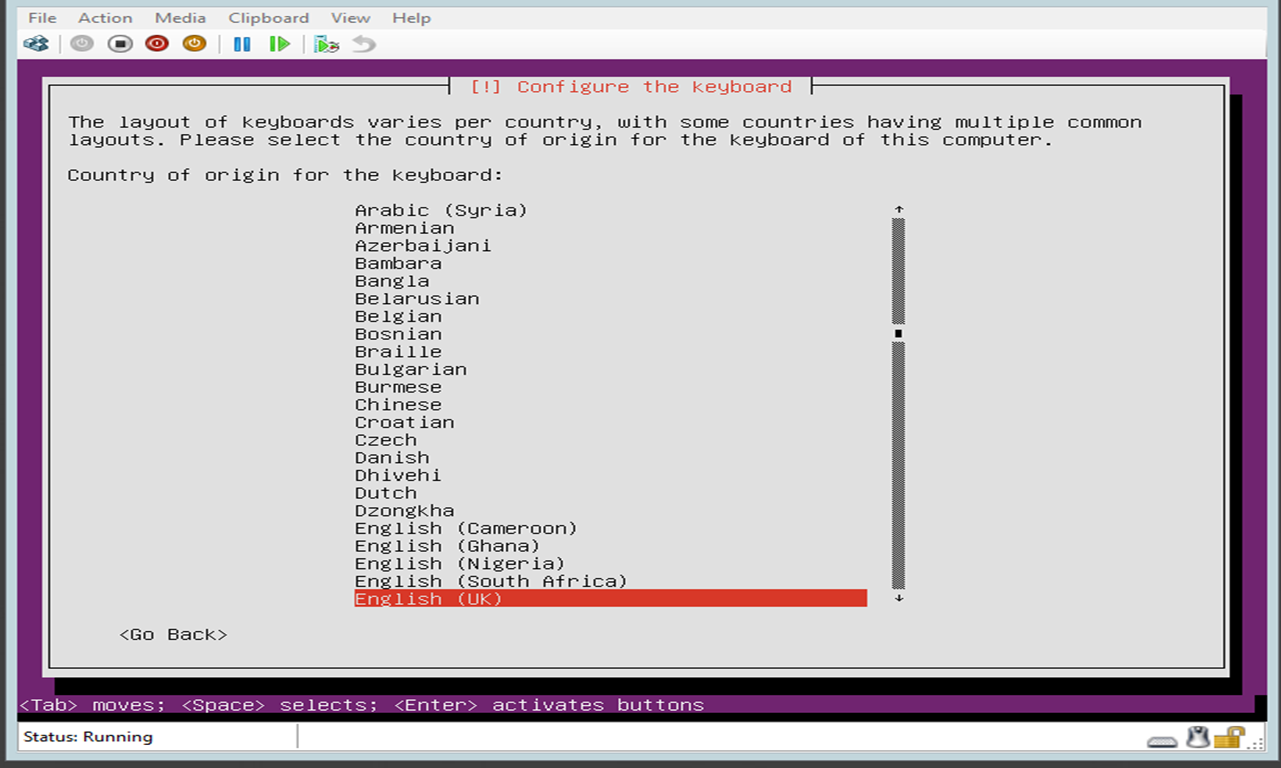
Choose the relevant keyboard layout that you have connected to your computer, or, which country and language that you use. Use the arrow keys to select the best one, then press Enter to confirm your choice.
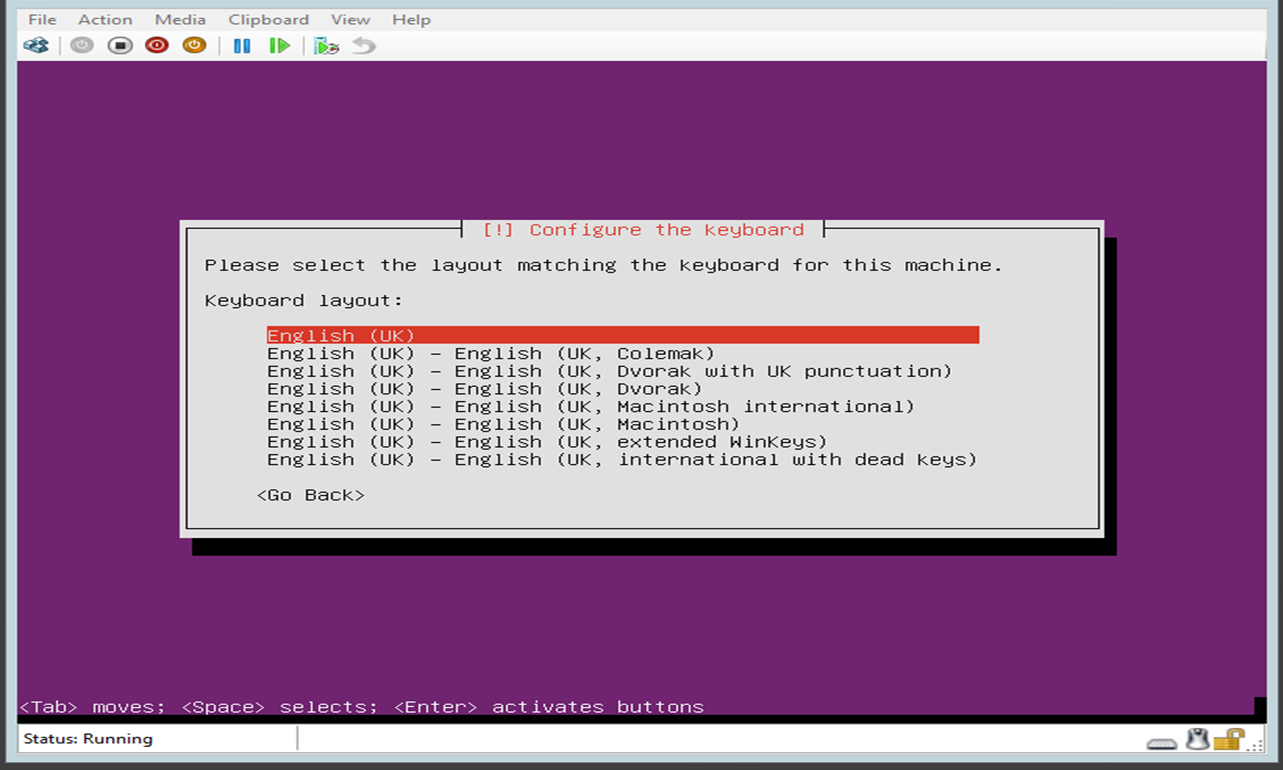
The keyboard that is connected to your computer should be one that is shown in this list. If it is, use the arrow keys to move onto it and press Enter to select it. If it isn’t shown, then press Tab to move the cursor to Go Back, press Enter, and restart this process again.
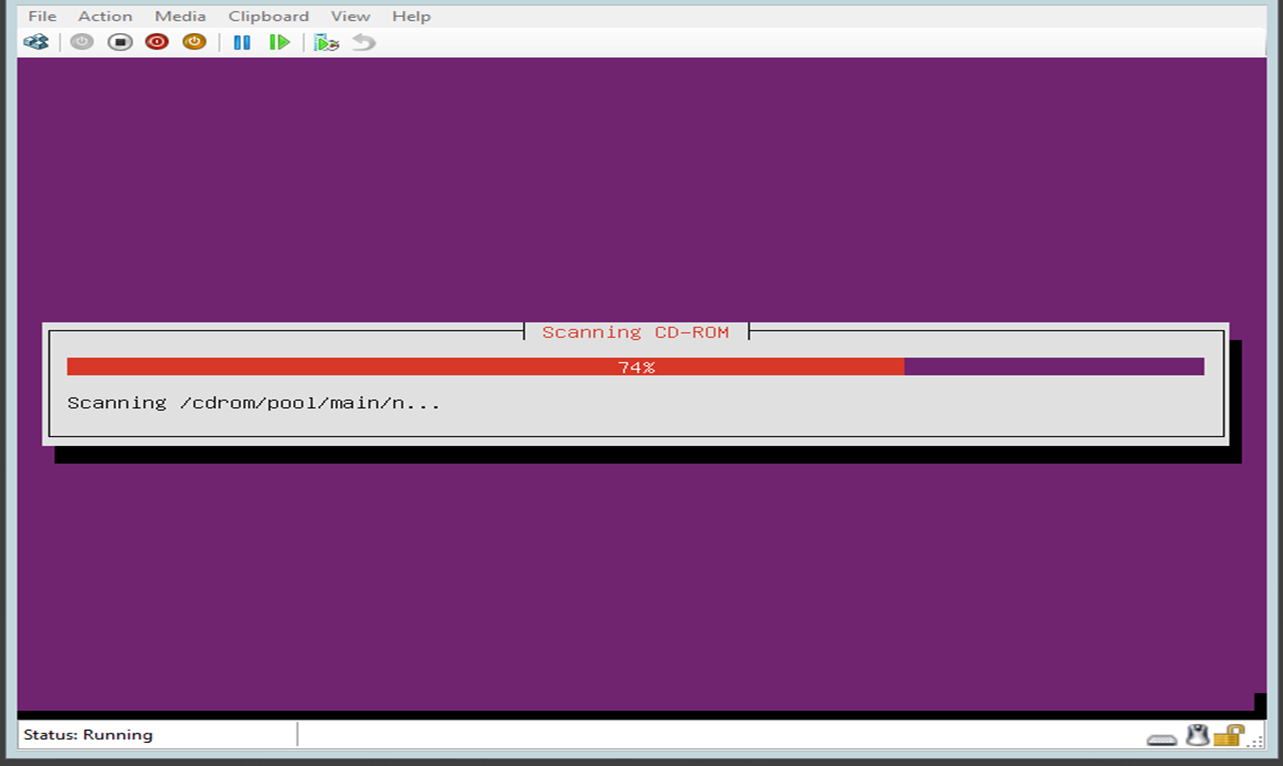
You can now watch the gripping action as the progress bars move along you screen as the installer loads various components from the installation disk.
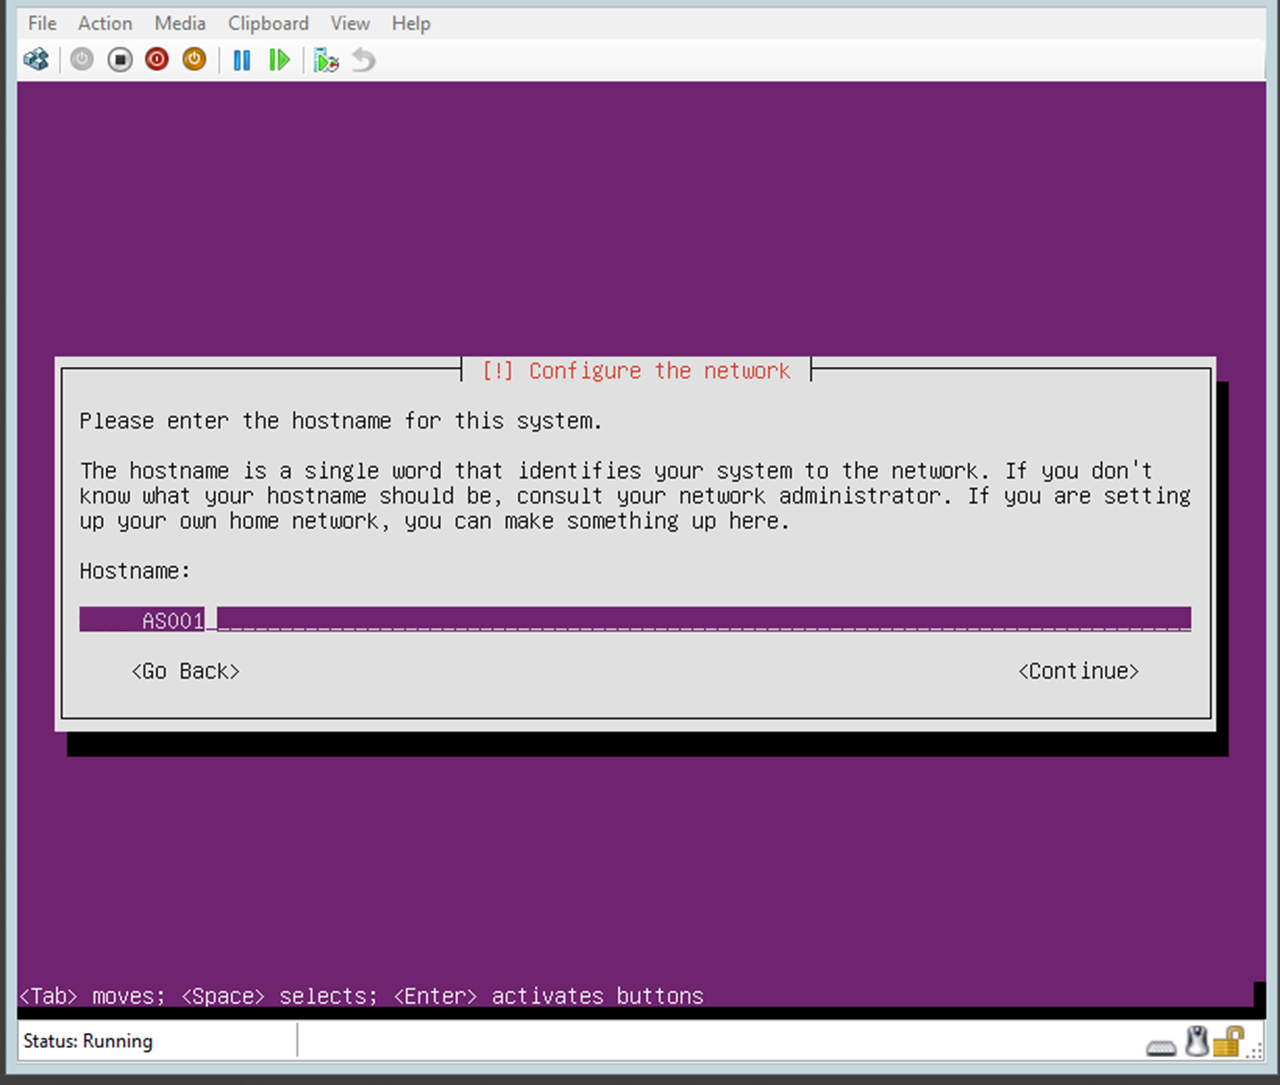
This is probably the hardest step that you can do… naming the computer. You should probably give the computer the same name that you called it when you went through the Hyper-V setup wizard, as this will make the most sense. Type the name of the computer and then press Enter.
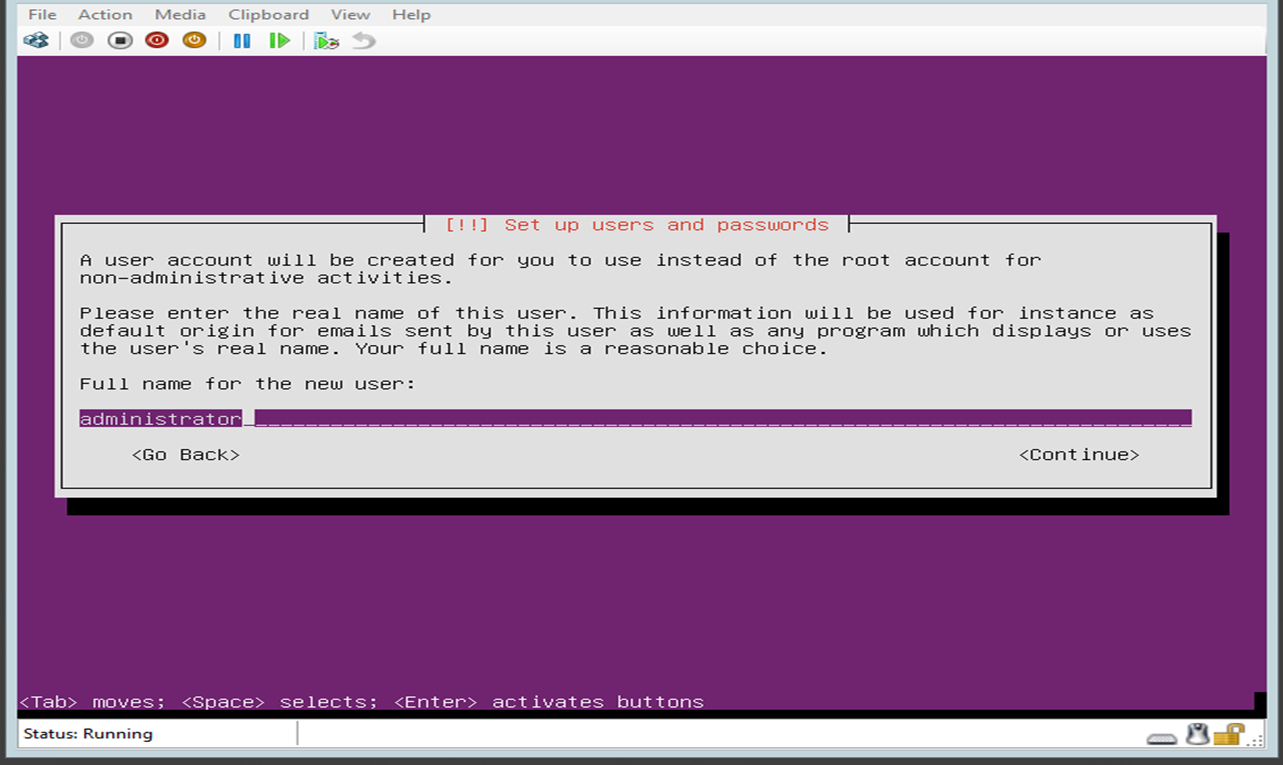
The account that you are now asked to make should be the primary user of the computer. This could be your own name, but as this is a server, I have genericized it with “administrator“. Once you have typed a name in, press Enter.
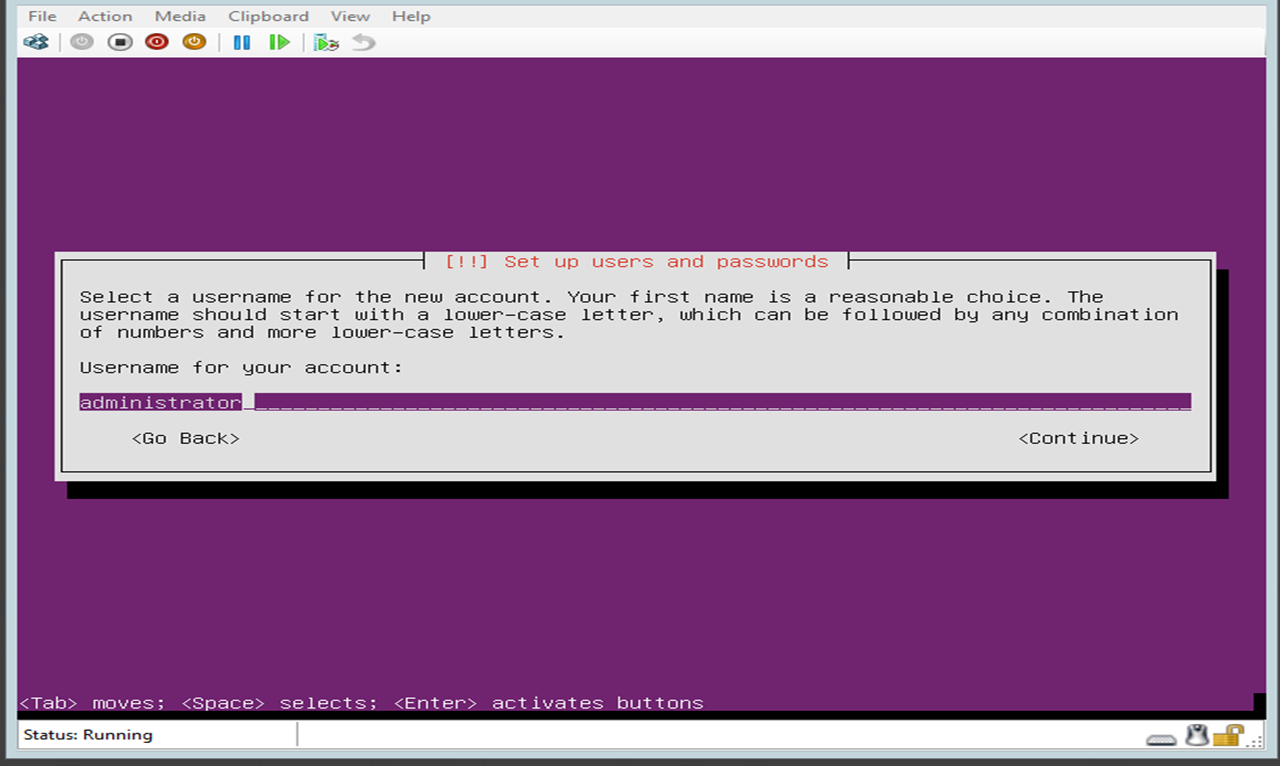
Another screen will now ask you for the username for the user that you have just entered. As it has already suggested a logical name for the administrator user that I am creating, I shall leave it as is. If you want to change what has been suggested (for example, your name is “Jonathan” but you just want to type “jon”), type it in, making sure to follow the instructions given. Press Enter when you are ready to move on.
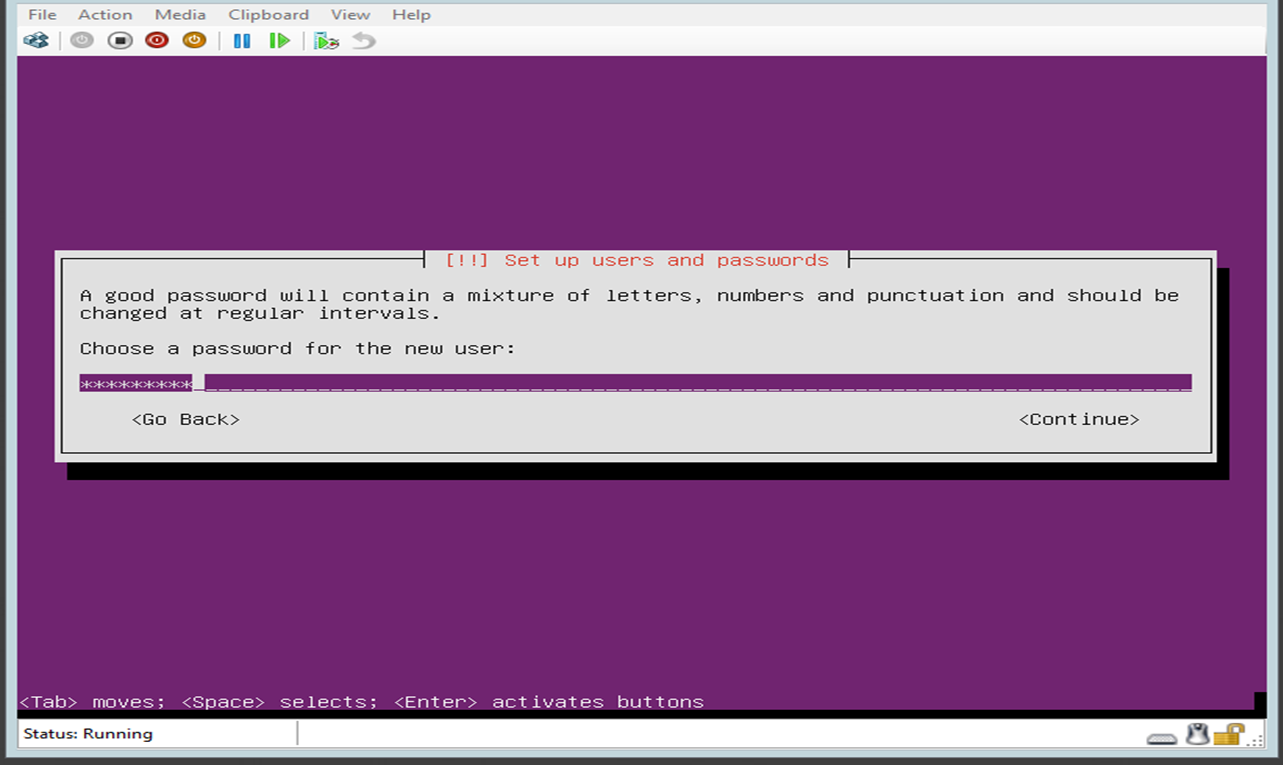
We can now create a password for this user account. Make sure to choose a strong password, and then type it in. Press Enter once you are happy with the choice.
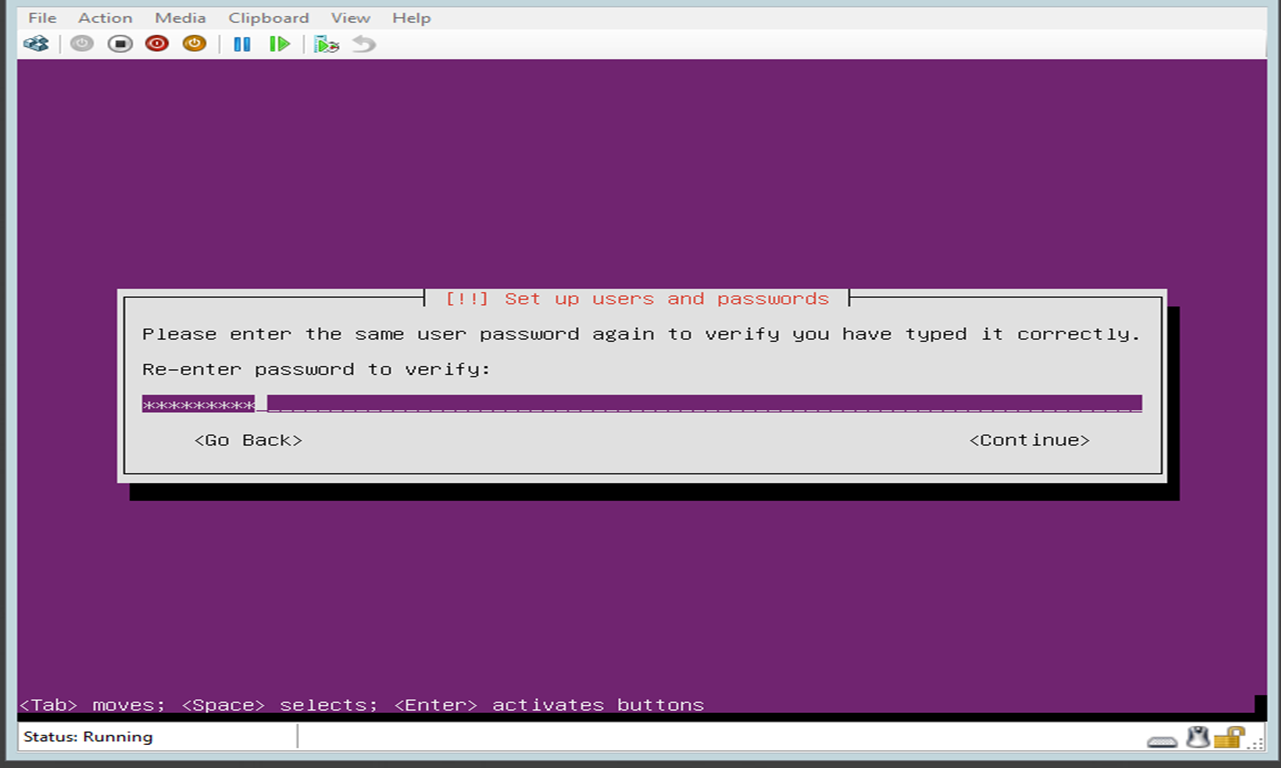
To make sure that you’ve not put any typos into the password that you’ve just typed, re-type it again to confirm it, then press Enter.
An opportunity to encrypt the home directory of this account is now given to you. Select “No“, as there is nothing confidential that we will be putting on this server, so it will just cause more hassle than it’s worth.

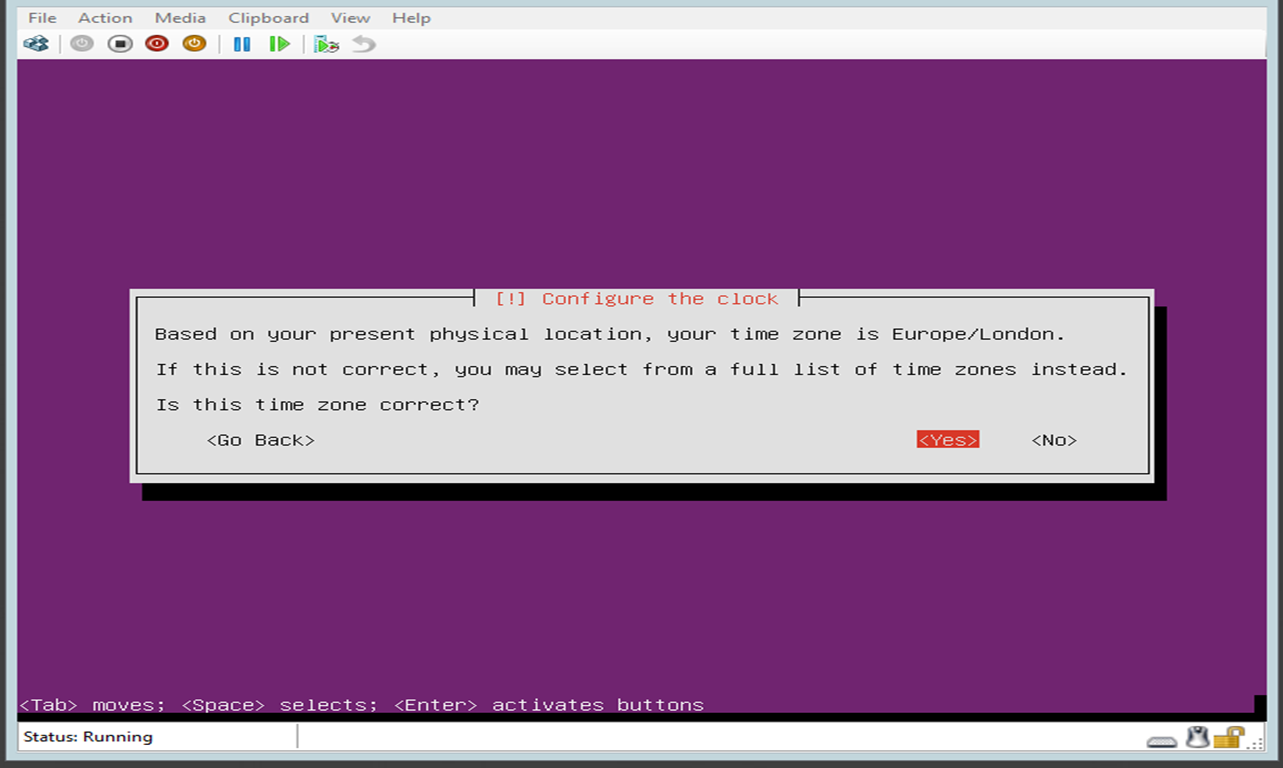
We can now choose a timezone for your server to live in. While you could select any timezone, it will make the most sense to use the timezone that your server is physically located in (assuming that you actually believe this[1]). This should be automatically calculated based on the language and keyboard settings that you selected, so make sure that Yes is selected and press Enter.
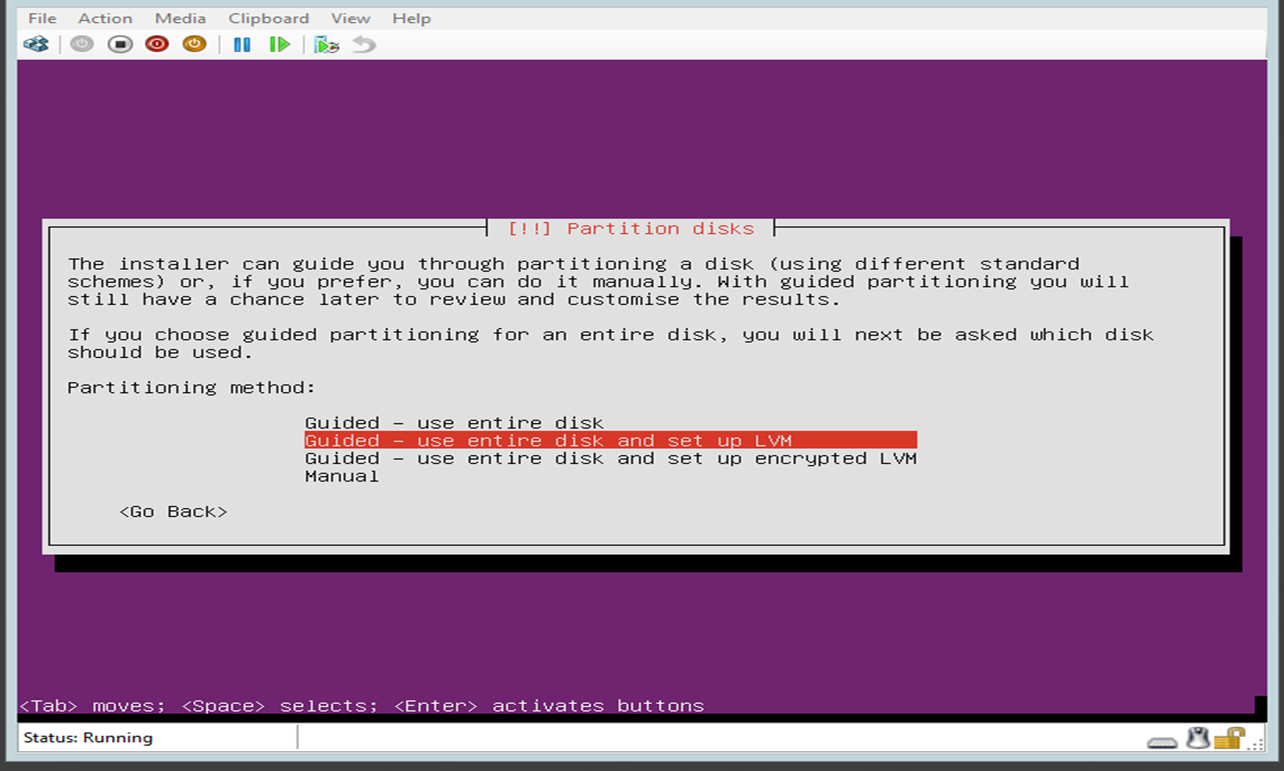
Your hard drive now needs to be set up for partitioning. As we are not going to be needing anything fancy, we will just use the default option of “Guided – Use the entire disk and set up LVM”. Press Enter to select this option.
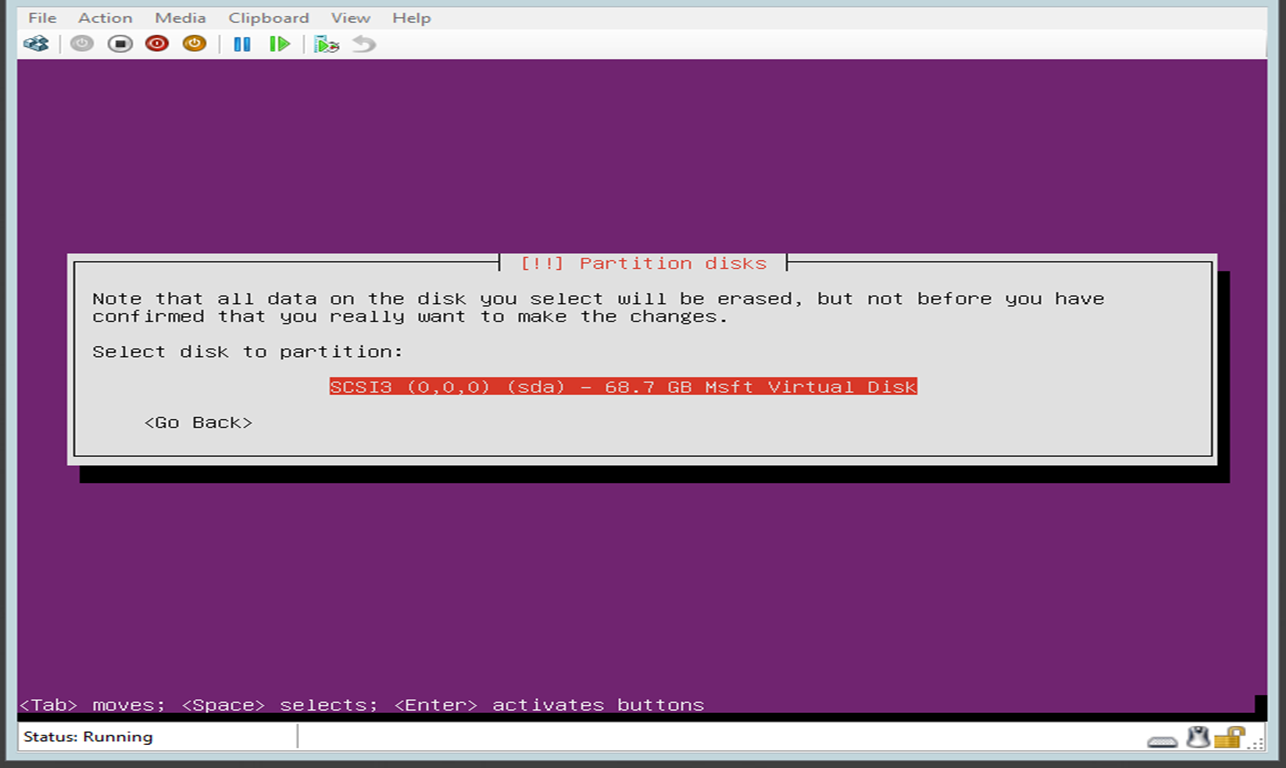
If you have created your virtual machine, then there should only be one available hard drive to install the operating system on. If you are using a physical machine, or you have set your virtual machine to use multiple hard drives, make sure that you use the up and down arrows to select the correct disk (use the size as a helpful indicator). When the correct disk is selected, press Enter.
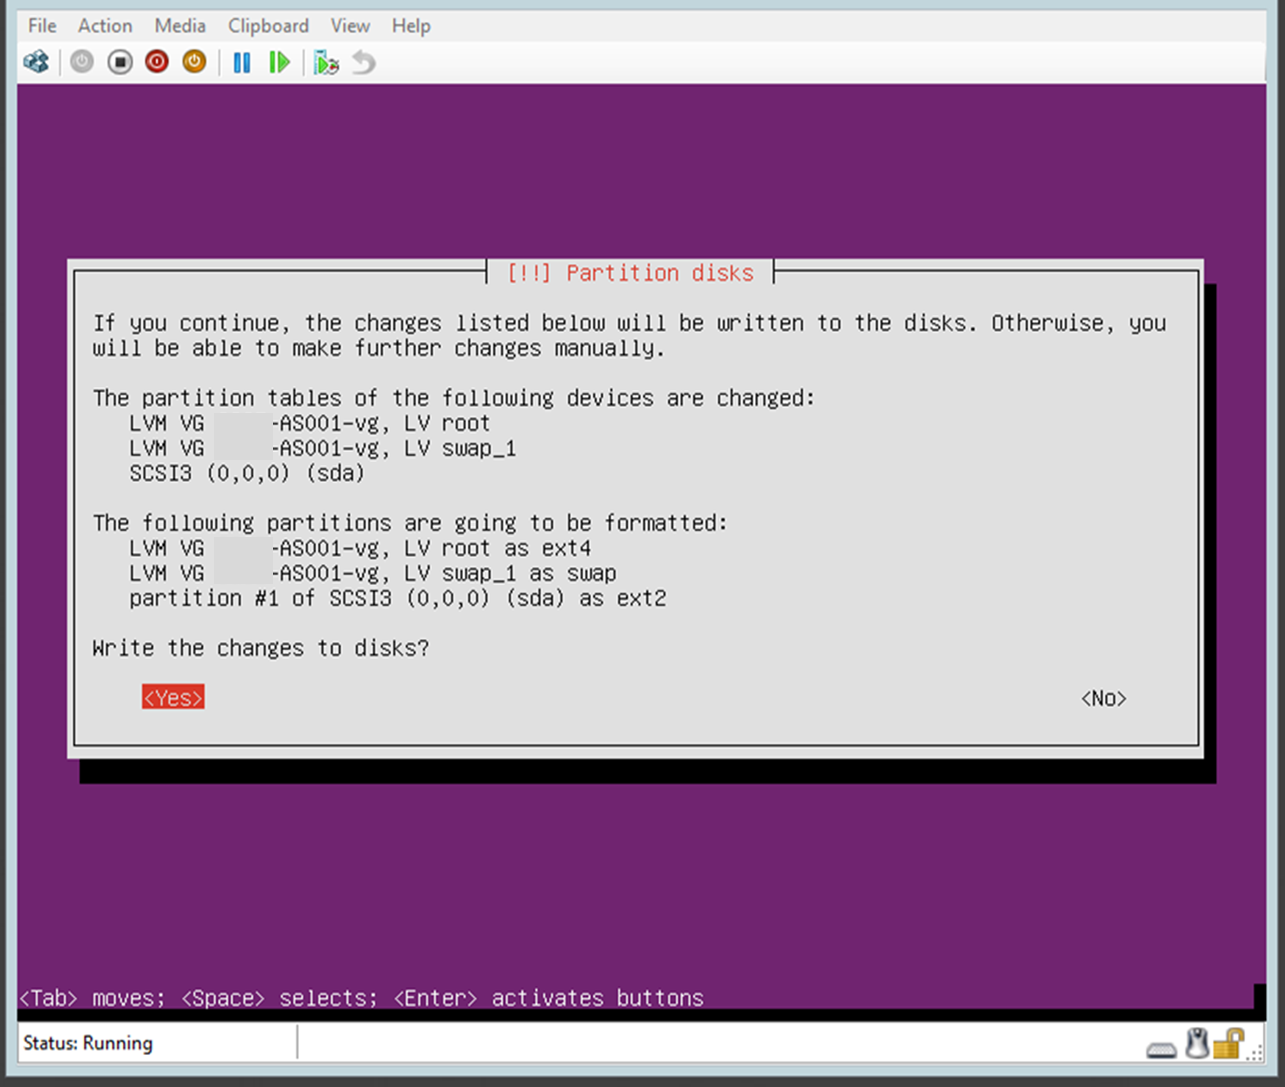
Before confirming the changes and writing anything to the hard drive, just check to make sure that the information presented here is what you are expecting to see, and if you agree with it, use the arrow keys to select Yes, then press Enter.

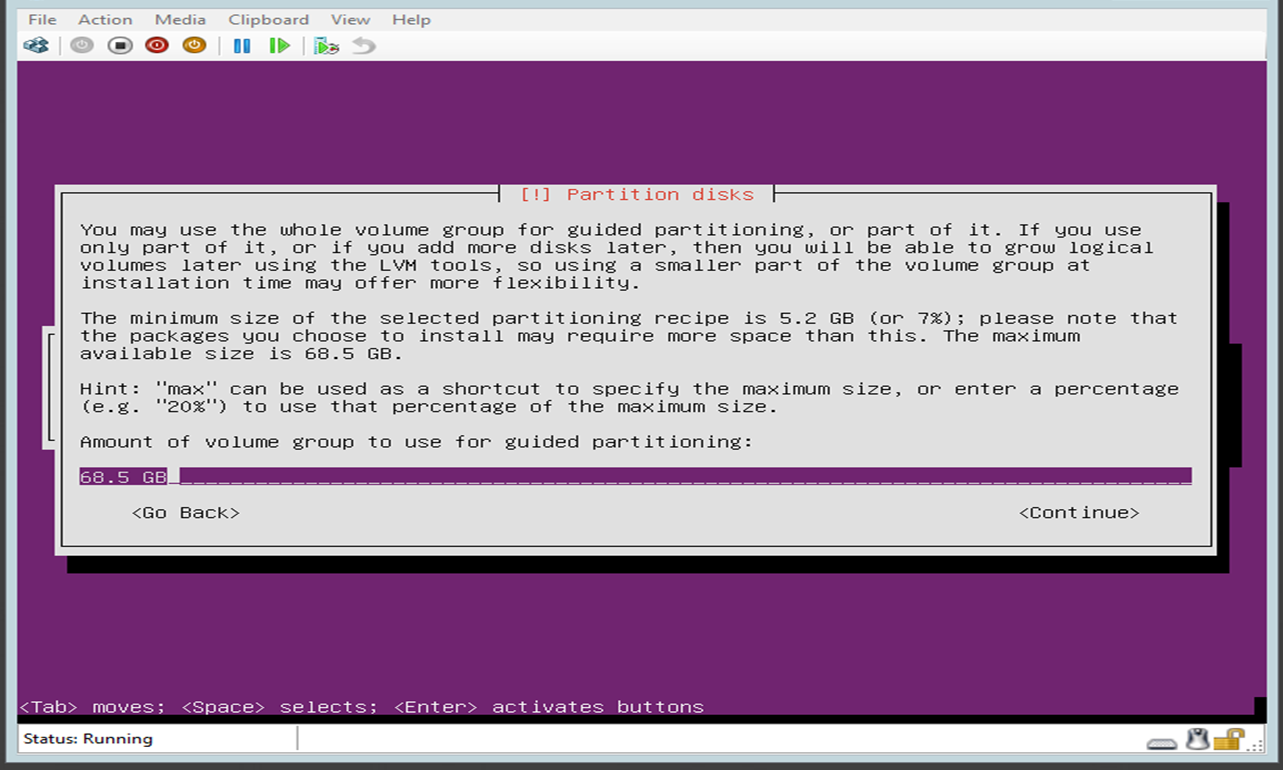
An opportunity to select how large the partitions for the volume group is given. However, as we are going to be using the whole of the disk, leave the value shown as is and press Enter to confirm your choice.
As before, confirm that you are happy with the changes that are going to be made. If you’re not sure what any of this information means, use the arrow keys to select Yes, then press Enter. If you notice that you’ve made a mistake, make sure that No is selected and press Enter to go back.
The next step will take a bit of time, depending on how fast your computer is, so probably go off and do a few other tasks that you’ve been putting off while this installs. Go on, off you pop.

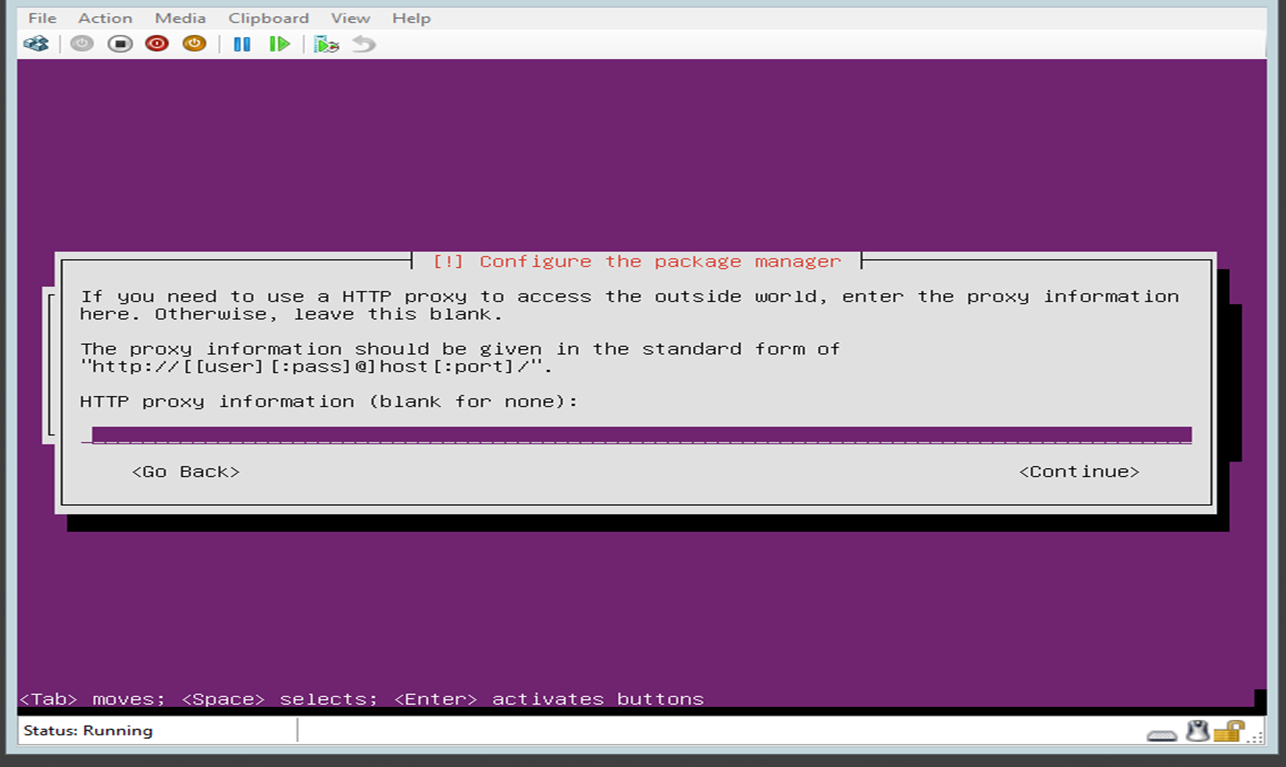
If you need to use a proxy server to access the Internet, fill in the details now, following the format that is shown. If you aren’t sure, contact your network administrator to find out the details. Once you’ve filled it in or if you’re still not sure (or aren’t wanting to bring attention to your activities), just press Enter.
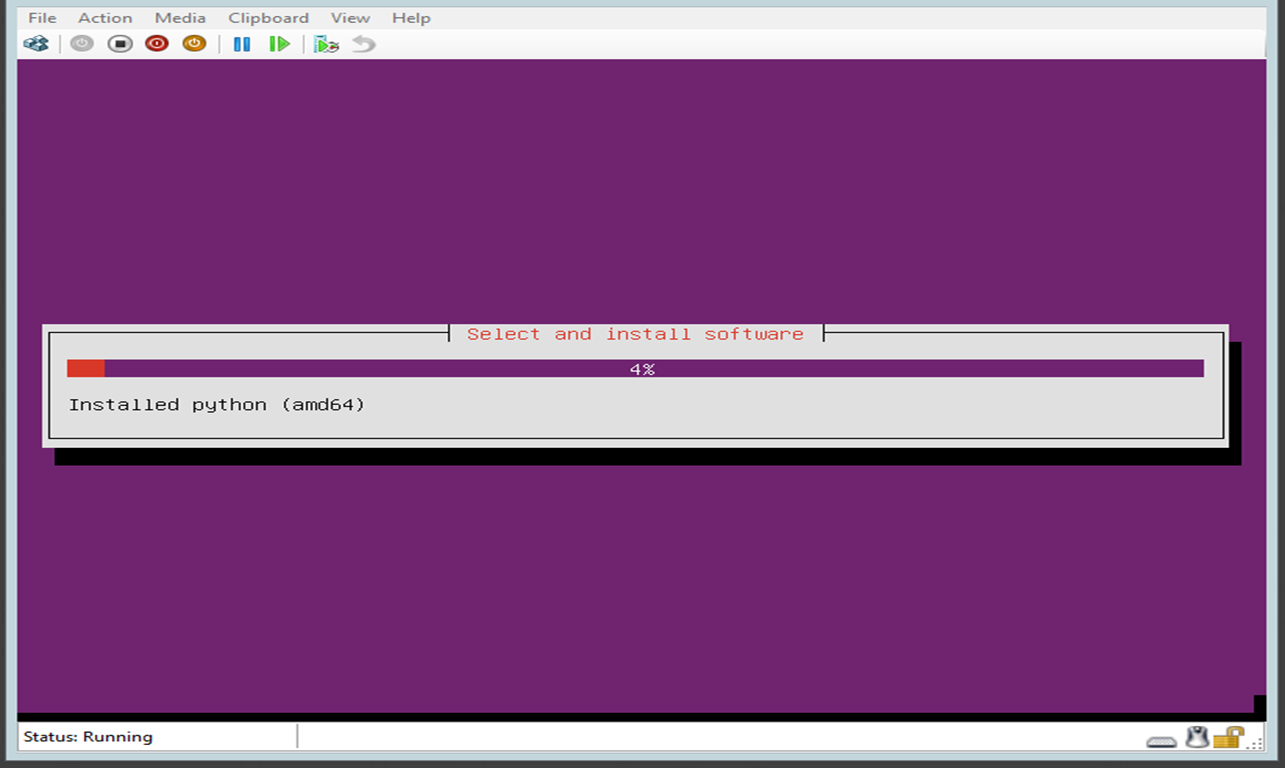
As before, let it scan and update any files that it finds. This may take a while, so find a new task to get on with.
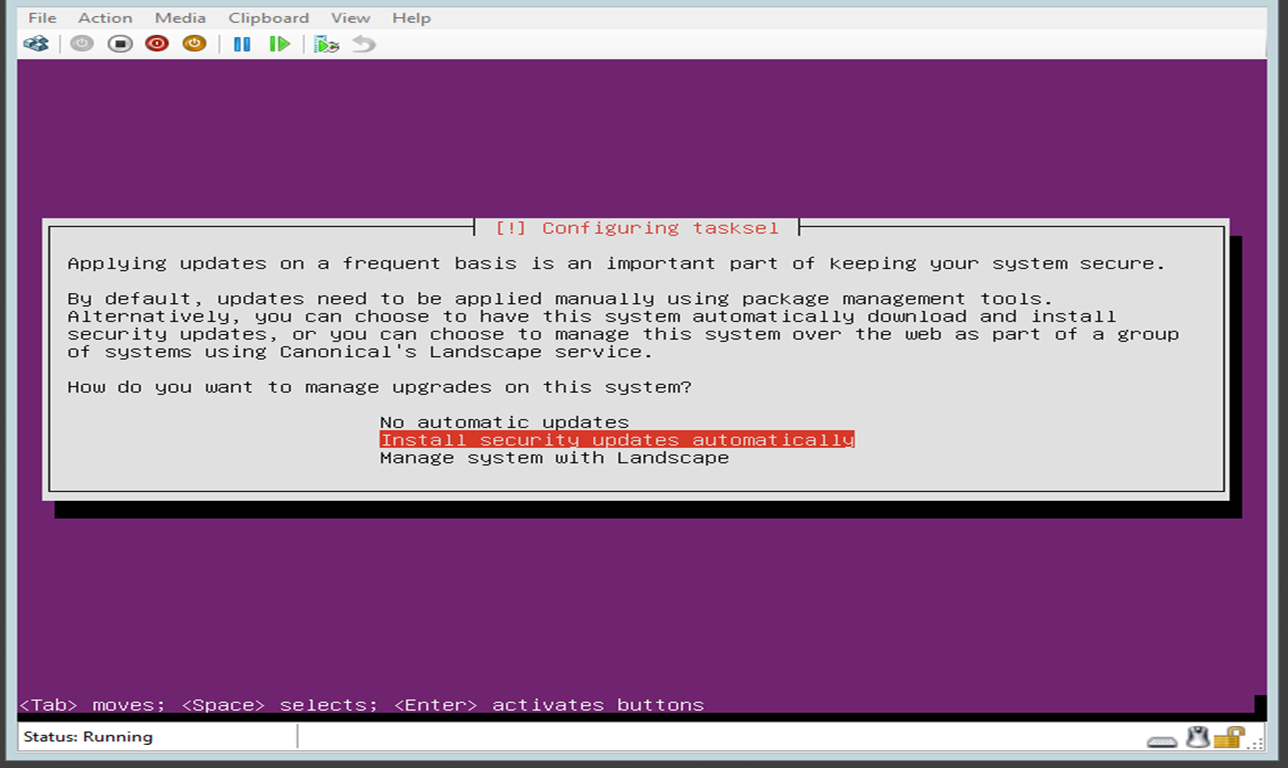
Security updates are a good idea to install, and while you should always check for what the updates are going to do, most of the time they will not cause any noticeable changes on your server. By default the installer will not choose to install any updates automatically, so use the down arrow key to select “Install security updates automatically” and press Enter.
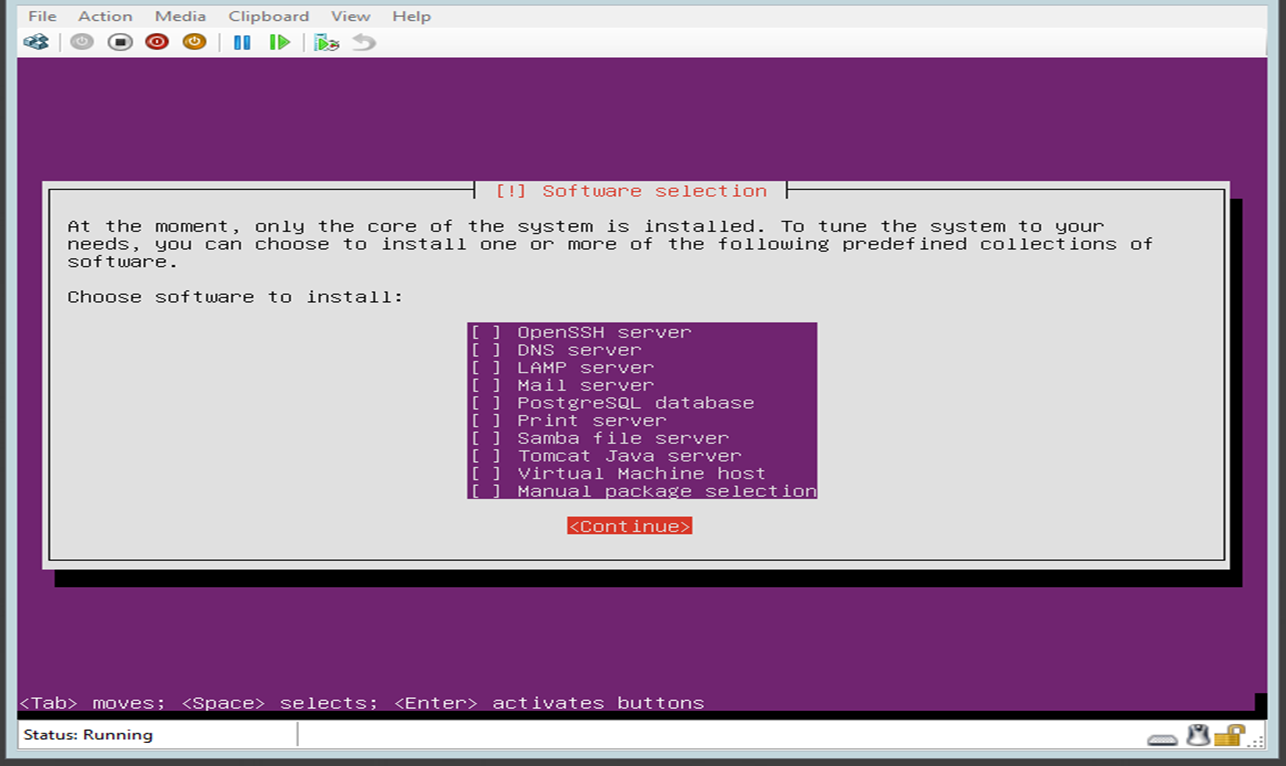
While we can now install additional software for our server, we will be doing this later on. Therefore, we can skip this option for now by pressing Tab to move the cursor to “Continue” and then press Enter.
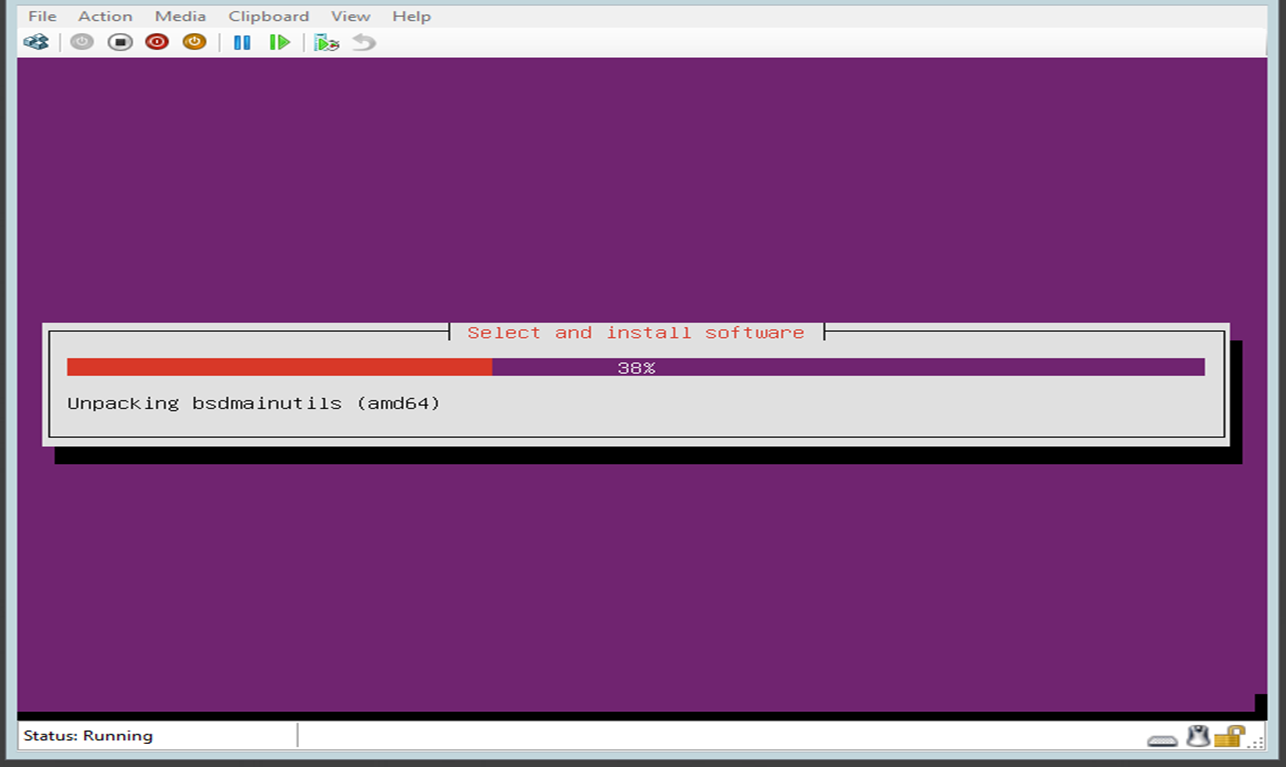
Yet more progress bars will be shown on your screen. Until they complete, you can’t do anything. Well, you can. I bet you still have lots of tasks that you could get on with.
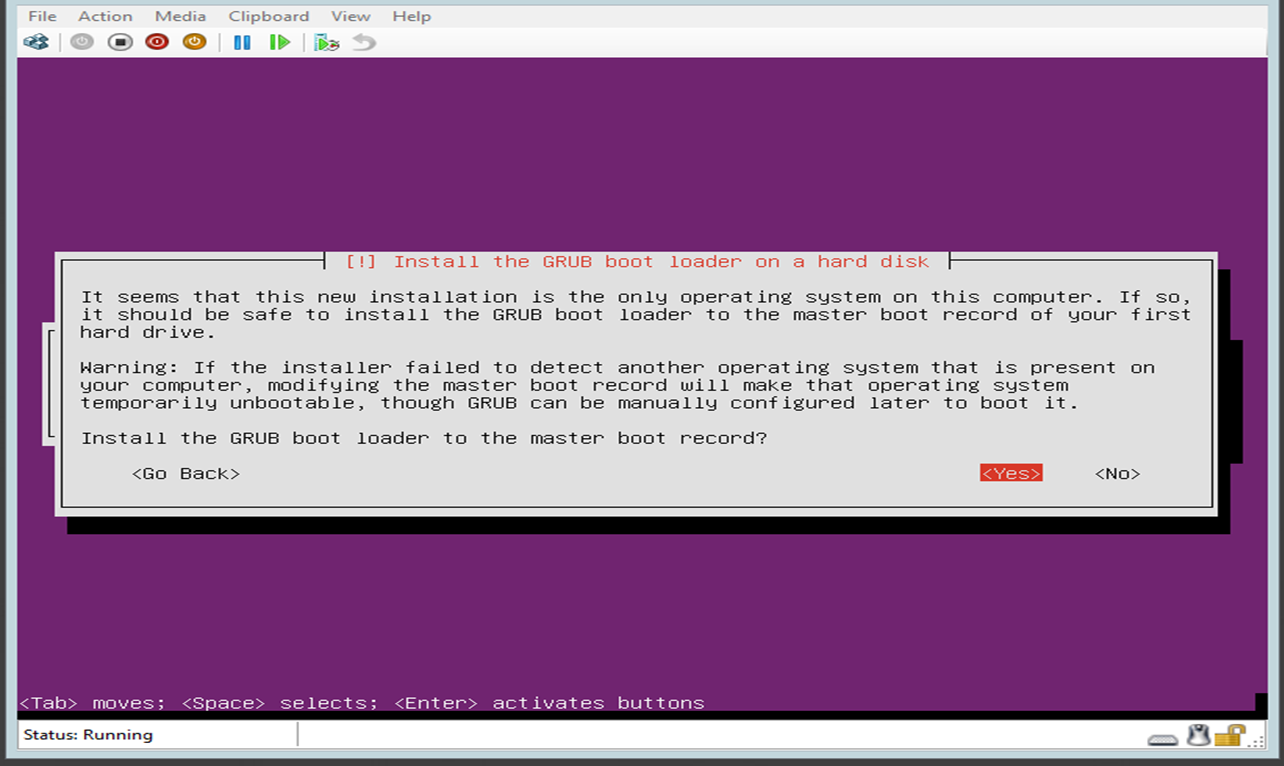
The final step before Ubuntu is finally installed is to tell it if the GRUB boot loader should be installed to the master boot record. As we are using a virtual machine with an empty hard drive (at least, you made it that way earlier) we can happily use the arrow keys to select Yes and then press Enter.
After a few more seconds the Ubuntu installer will have completed its job and you can reboot the computer. If you’re using a physical machine, you will need to take out the disc that is in the drive. Press Enter on the reboot prompt to restart the machine.

Phew! that took its time. Why not do something else until you’re ready to move on to the next part? Seriously, you deserve it.